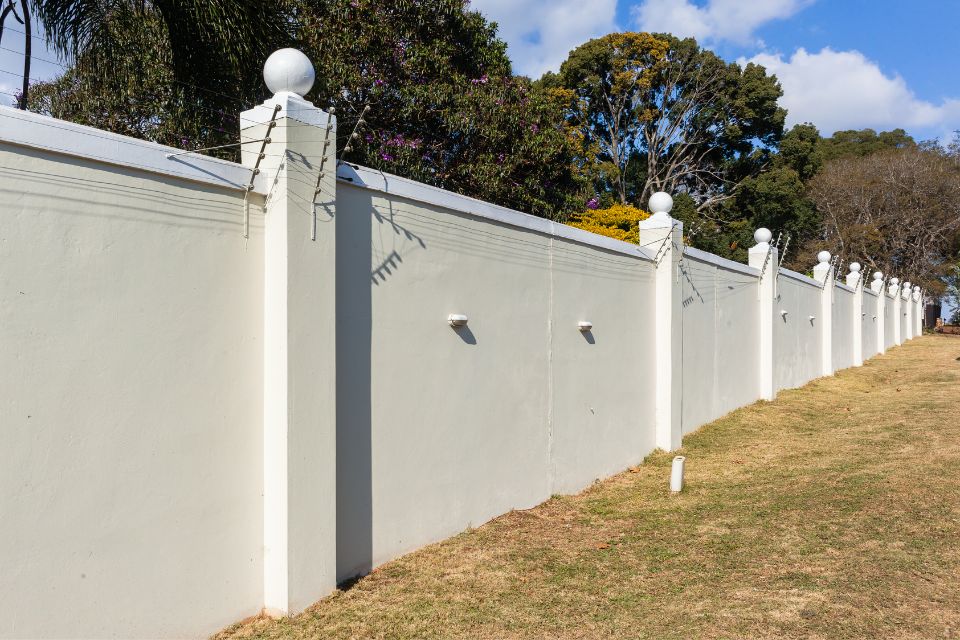
Maintaining your home’s boundary wall is crucial for safety and aesthetic appeal. Over time, boundary walls can crack, crumble, or lose their structural integrity due to weather conditions or poor construction materials. Ignoring these signals can result in costly repairs or perhaps a total replacement. In this guide, we’ll walk you through how to fix a crumbling boundary wall at home, explain the best materials to use, and discuss ways to keep your wall stable and secure.
Why Boundary Wall Maintenance Matters
Boundary walls protect your property, ensuring privacy, safety, and curb appeal. When these walls weaken, their structural integrity is compromised, posing risks to people and property. Regular home boundary maintenance can help you spot early issues, such as cracks or crumbling sections, and prevent more significant problems down the line.
Common Causes of a Crumbling Boundary Wall
Before jumping into repairs, it’s essential to understand why boundary walls crumble. Identifying the root cause will ensure a long-lasting solution. Common causes include:
- Weathering: Prolonged exposure to rain, snow, or heat can weaken the materials.
- Poor construction: Substandard masonry or improper foundation work leads to early wear.
- Water damage: Excess moisture causes the wall to erode over time.
- Shifting soil: Movement in the ground can destabilize the foundation.
- Age: Older walls are naturally more prone to wear and tear.
Tools and Materials Needed for Boundary Wall Repair
Before beginning your repair project, gather the following tools and materials:
- Protective gear: Gloves, safety goggles, and dust masks
- Mortar mix or premade patching compound
- Trowel: For applying and leveling the mortar
- Wire brush: To remove debris and clean cracks
- Concrete stabilizer: To improve the integrity of the weakened wall
- Sand or gravel: For foundational reinforcement
- Sealant or waterproof coating
Step-by-Step Boundary Wall Repair Guide
Follow this simple guide for a DIY boundary wall repair project that homeowners can handle confidently:
Step 1: Assess the Damage
Inspect the wall thoroughly to identify all problem areas, including cracks, loose stones, or disintegrating mortar. Note whether the damage extends to the foundation or is surface-level.
Step 2: Clear Loose Debris
Use a wire brush to scrape away loose mortar and debris from cracks or crumbling sections. This ensures a clean surface for repairs.
Step 3: Mix Repair Mortar
Prepare a mortar mix or use a premade patching compound designed for masonry wall repair. A good mix is essential for filling cracks and stabilizing the structure.
Step 4: Fill Cracks and Holes
Using a trowel, fill cracks and gaps with the prepared mortar mix. Smooth the surface to create an even finish. For larger holes, pack gravel or sand first before applying mortar.
Step 5: Stabilize the Wall
For walls with extensive damage, add a concrete stabilizer to improve durability. Stabilizers help reinforce weak sections of the wall and prevent further deterioration.
Step 6: Apply a Waterproof Sealant
Finish the project by applying a waterproof sealant or coating to protect the wall from future damage caused by water exposure.
Step 7: Allow Time for Drying
Let the repaired areas dry completely before testing for stability or applying additional layers of sealant.
Best Practices for Long-Lasting Results
To ensure the durability of your repairs, follow these tips:
- Use high-quality materials for better resilience.
- Regularly inspect your boundary wall for early signs of damage.
- Invest in professional assistance for extensive foundation repairs.
- Apply sealants consistently to protect against moisture.
By adhering to these practices, you’ll extend the life of your boundary wall and avoid frequent repair costs.
The Cost of Repairing a Crumbling Boundary Wall
The cost of repair depends on the extent of damage and materials used. Here’s a breakdown:
- Small cracks and patching: $50–$200 for DIY repairs
- Extensive mortar replacement: $500–$1,000 for professional services
- Foundation stabilization solutions: $2,000+ for significant repairs
While DIY boundary wall repair tips for homeowners can save money, severe structural damage may necessitate professional expertise.
Frequently Asked Questions
Conclusion
Repairing a crumbling boundary wall might seem daunting, but with the right tools, materials, and knowledge, homeowners can confidently tackle this project. Whether you’re looking for DIY boundary wall repair tips or considering professional services, addressing issues promptly can save you time and money. Remember, regular maintenance is key to ensuring your home’s boundary wall remains strong, stable, and visually appealing.


